
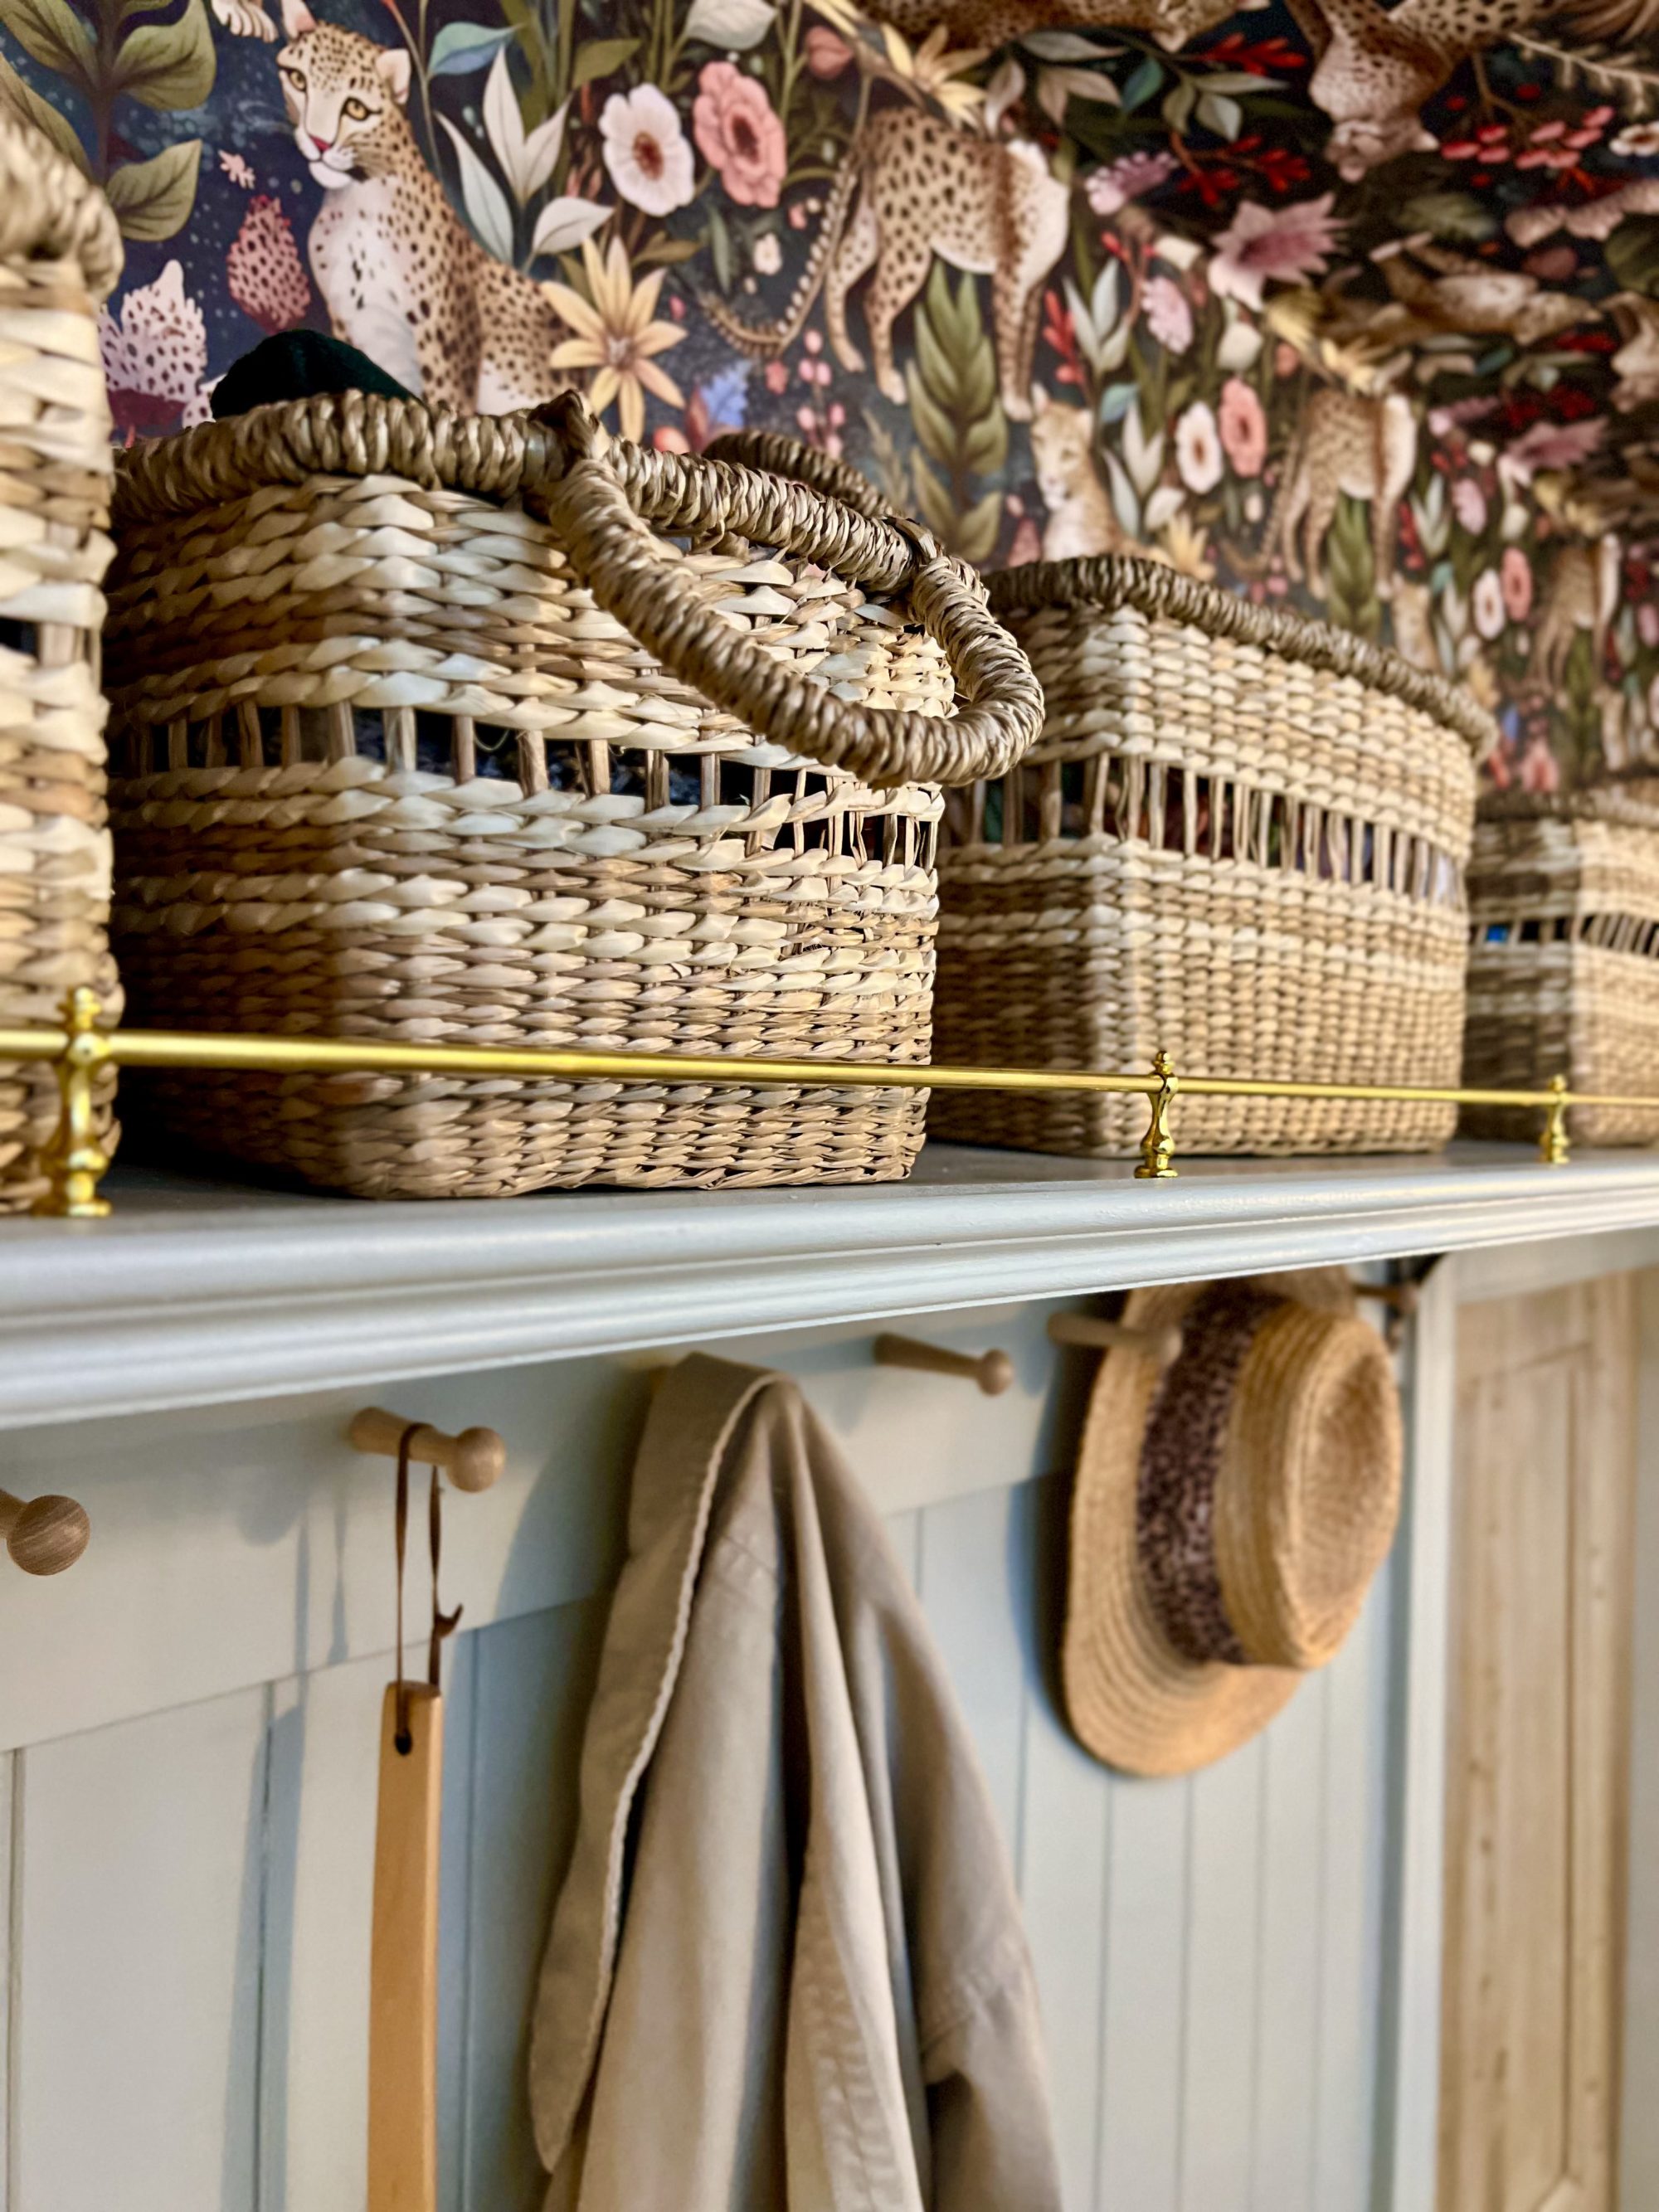
How to save £100+ on installing a gallery rail! Click here to skip down to ‘What I used’ to shop the links >
Living in an 1840s townhouse is all very romantic…
…until you realise there’s absolutely nowhere to put anything.
Everyone imagines grand staircases and period features (which, to be fair, we do have), but what they don’t picture is walking through the front door with a coat, bag, hat, sunglasses, suncream, your sons millionth water bottle…
…and having absolutely nowhere to put any of it.
We might have five floors. But we also have approximately zero useful storage near the front door. Not even an under stairs cupboard to hide all of your stuff in.
Because underneath this set of stairs? More stairs. 🤣
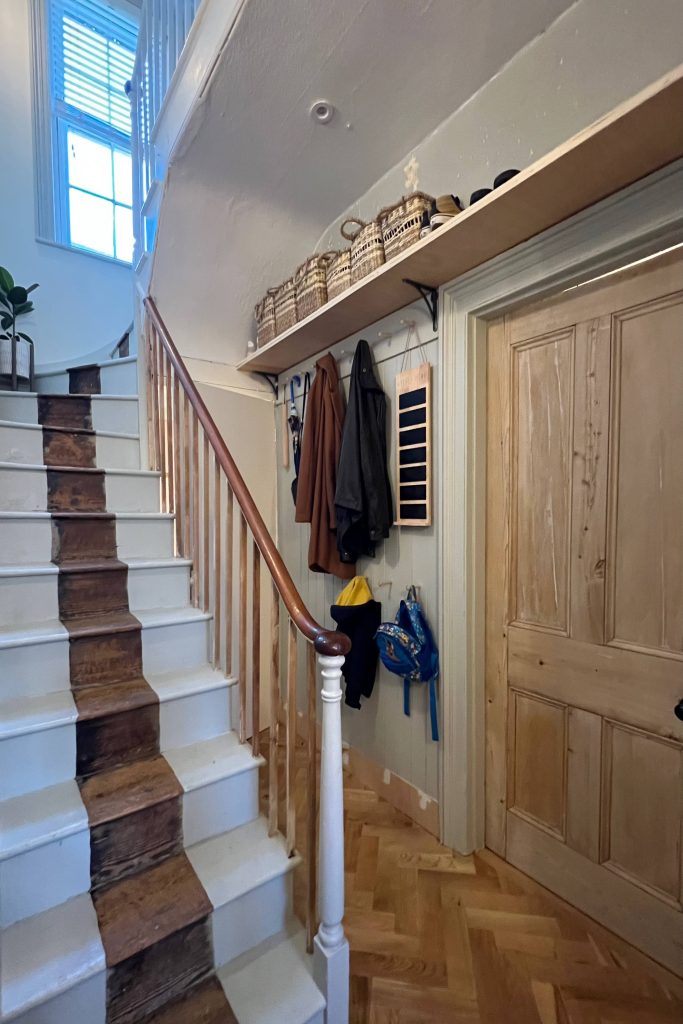
The awkward space we decided to use
Above the hallway doors was this huge empty space that wasn’t doing anything. The walls were also in terrible condition, we’d run out of money for any more plastering, so used some leftover tongue & groove from when we panelled over what was once a shower wall (now the dining room!), and created a shaker peg top for hanging up our coats (& umbrellas!), plus some lower level pegs for Charlie’s stuff:
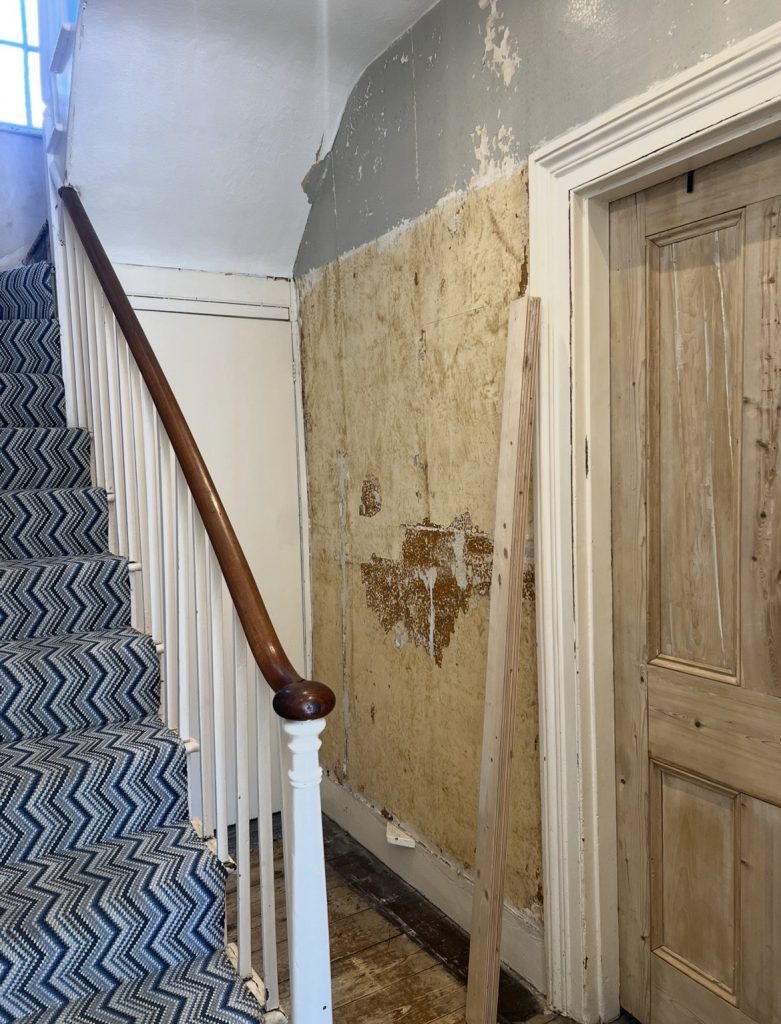
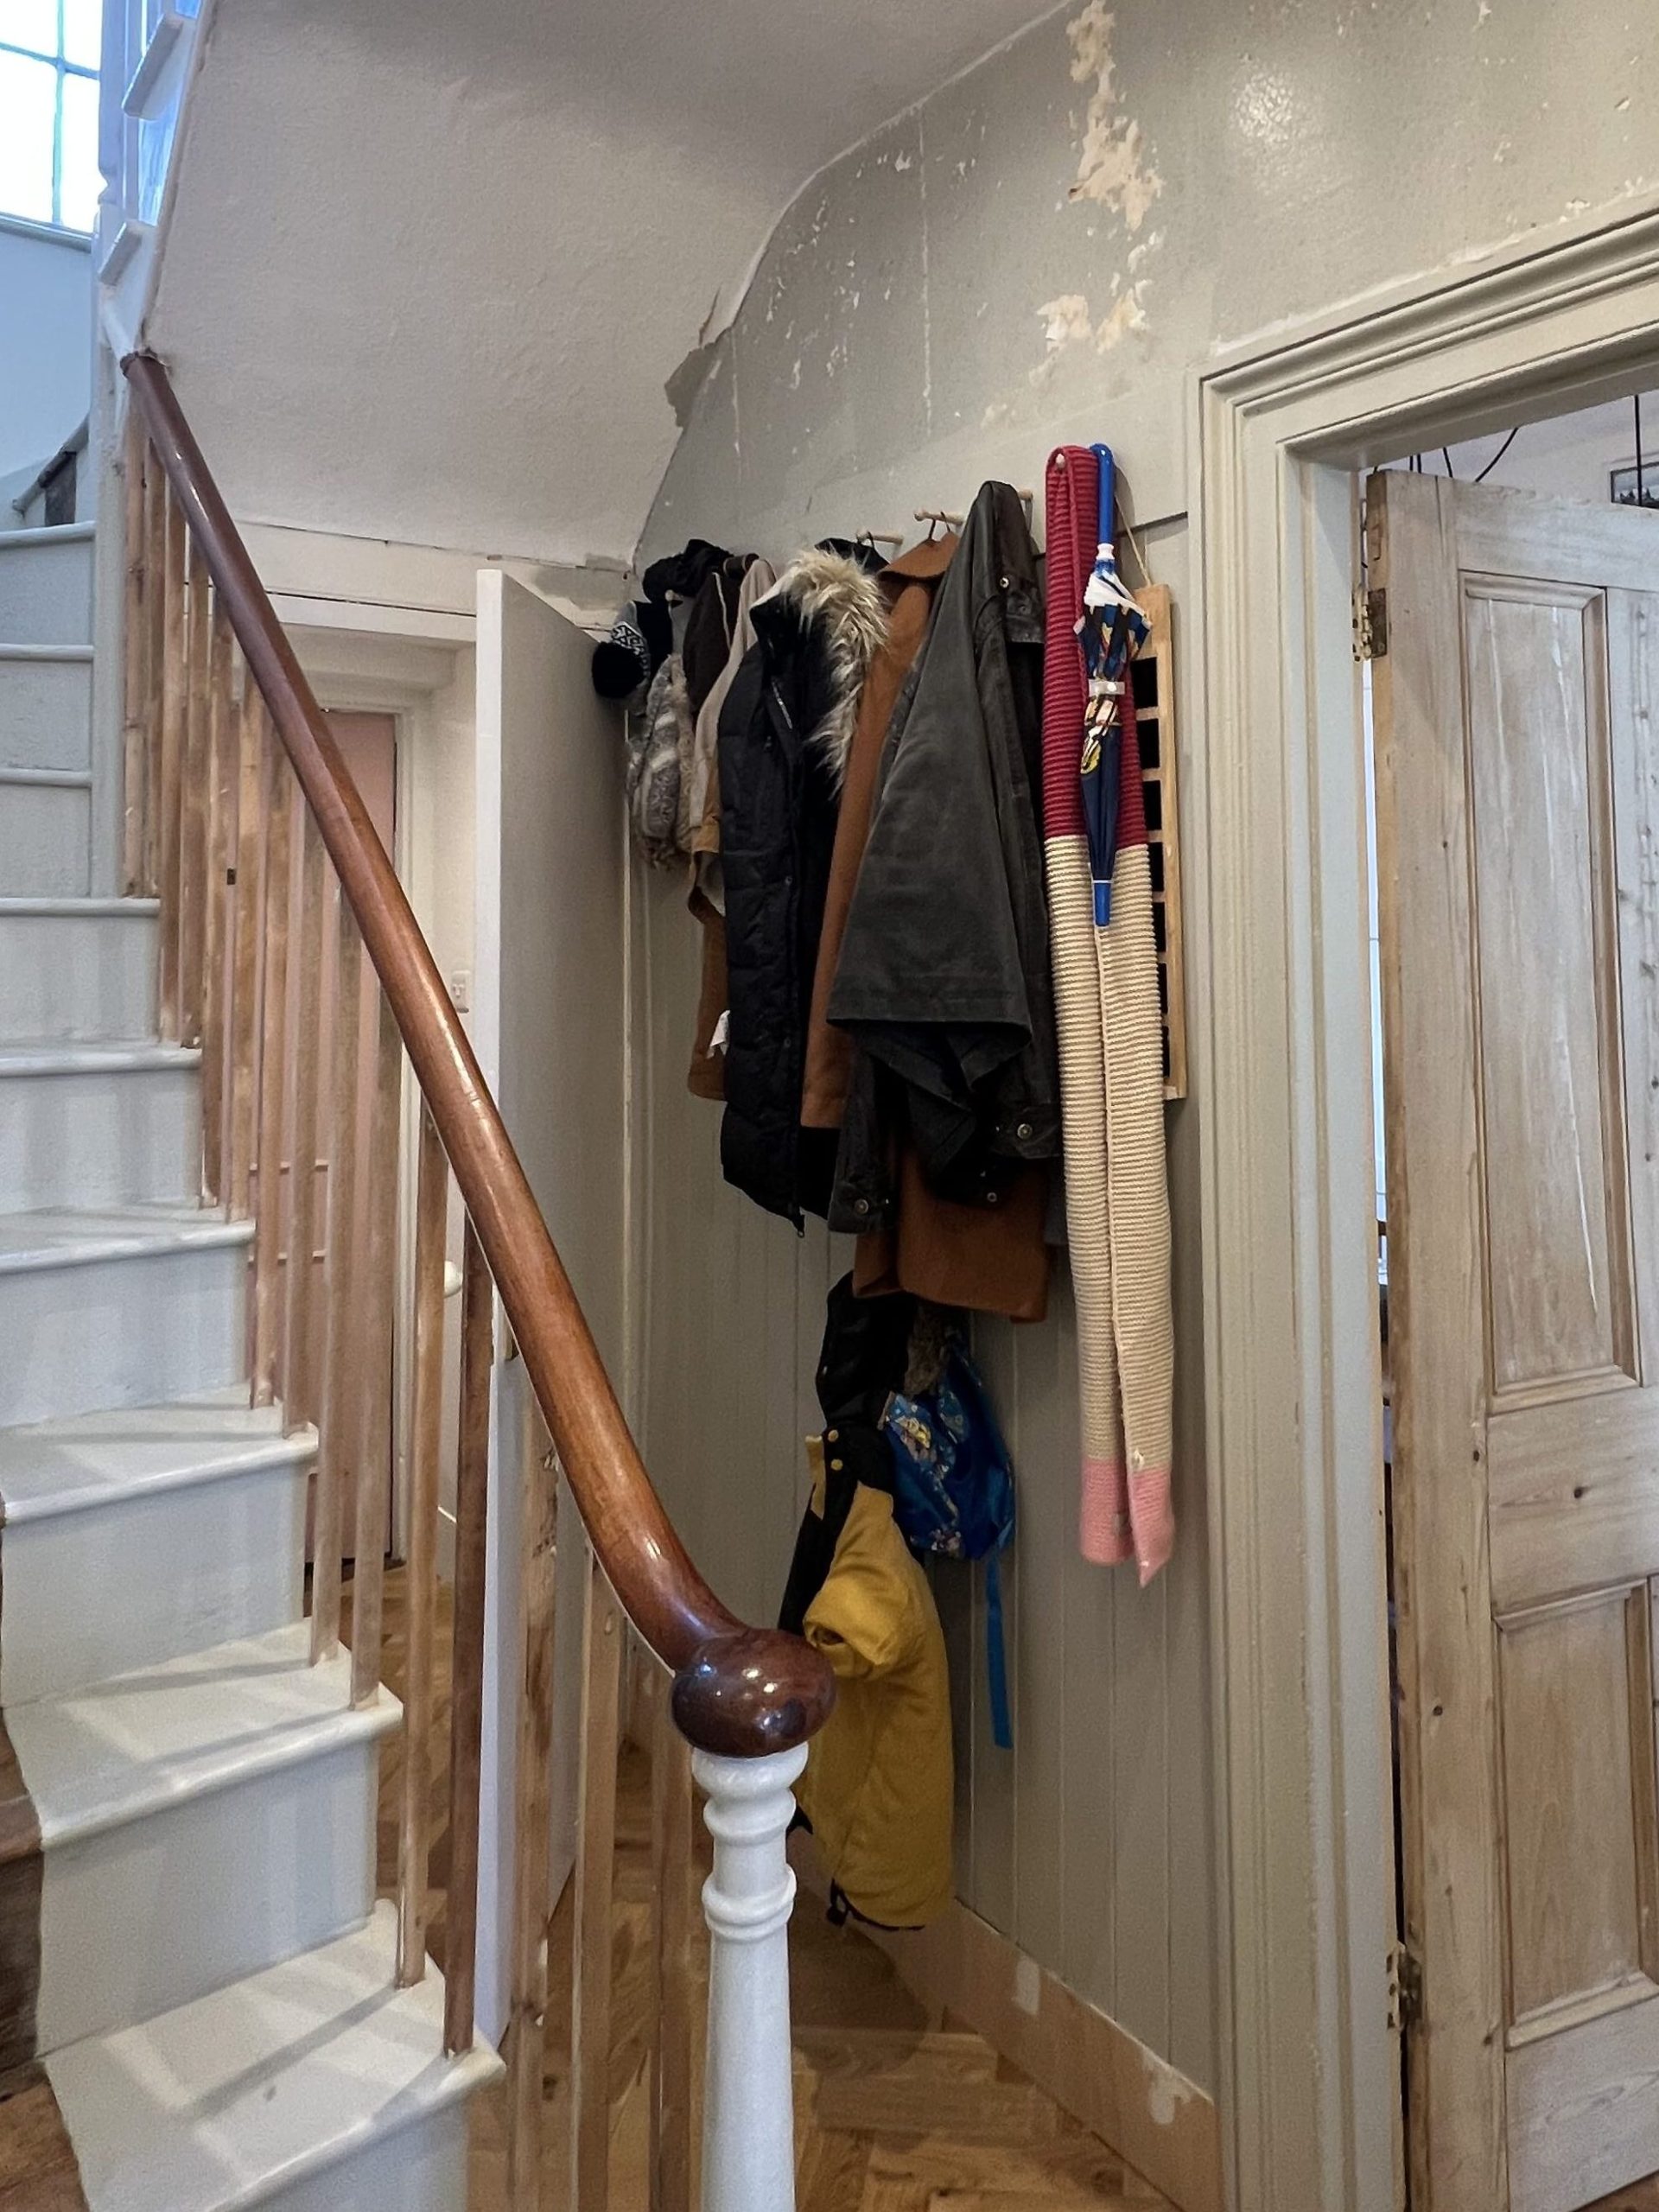
But it still looked a mess… we still had so many other things that we needed storage for, that were either cluttering up the kitchen, or being left on the floor.
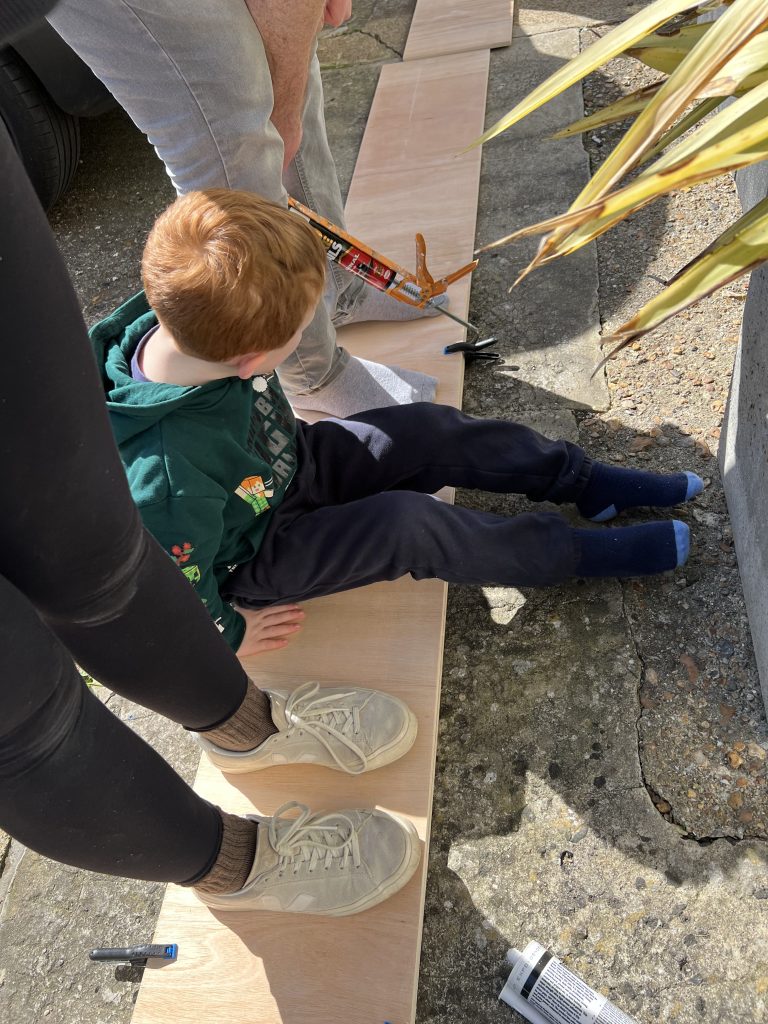
So instead of ignoring our storage woes for another four years, we built a 2.5 metre-long shelf that runs almost the entire length of the wall. We made it from left over plywood from when our floor went down, (12mm thick, in two layers, clamped and glued together to make a 24mm thick shelf), with all of our combined weight used to keep it together on a sunny spring morning!
We got some pretty baskets from La Redoute (packs of 2 that you can buy here) in the sale, and now they store all of our hats, gloves, bags, suncream, and other random things we need every single day but don’t actually want cluttering the hallway (or kitchen).
The best part is that every basket can simply be lifted straight down from the stairs, so the whole shelf is actually usable.
The gallery rail problem…
As lovely as it was, I thought the shelf looked a bit plain. After adding some architrave from B&Q along the front edge, I still knew (ideally) I wanted a brass gallery rail.
Mostly because they look lovely in a period house, but also so because it would match the brass elsewhere in the hallway, including the pipe clamps from one of my other favourite DIY projects!
There was just one slight problem…
The only gallery rail solution I could find in the UK came in at an eye watering £175. Absolutely not. Not when we still have entire hallways and rooms to finish, a leaky roof. Not when we’d tried to save on more plastering by panelling the wall ourselves. Not when we’d made a shelf from flooring off cuts to save money!
Every DIY hack was American…
I spent over a year looking for alternatives, but every tutorial I found came from brilliant American home accounts, who all used lamp parts that you can’t buy in the UK. And importing them would also cost a fortune.
I’d find the perfect tutorial.
Click the links… Unavailable… Unavailable. Unavailable.
Then I found these…
Eventually I managed to piece together a UK version from items on Amazon! You can also get the spindle parts in other finishes, such as black or chrome, but I wanted shiny, bright brass:
In the end, the whole gallery rail cost around £25.
For 2.5m worth of parts! Spindles at 30cm intervals (I didn’t like the look of them when they’re too close together, or too far apart). The rods themselves are also 30cm long, so no cutting required!
Twenty five quid 😂
For something that looks almost identical to the £175 equivalent, meaning I had more money for wallpapering the ceiling haha.
What I used
For my 2.5m gallery rail, I used:
1. Gallery Rail End Caps/Spindles

I only needed 2 of these for the shelf, but they come in packs of 4! For £7 a pack, total bargain.
2. Gallery Rail Connector Spindles

These are in a pack of 8 – perfect for the 2.5m length I had to span.
3. Brass Tubes
Choose the 5.5mm × 0.2mm × 330mm option – Shop here
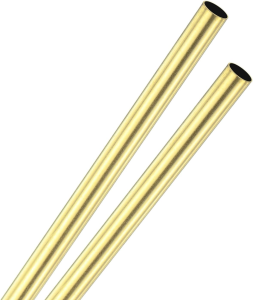
These fit inside the tube to join two lengths together, making one continuous gallery rail.
Make sure you select the 5.5mm outer inch diameter option – it took me a few attempts to find the correct size to fit the spindles, and this is the perfect one!
The finished result
It’s one of those projects that makes the whole house look and work better.
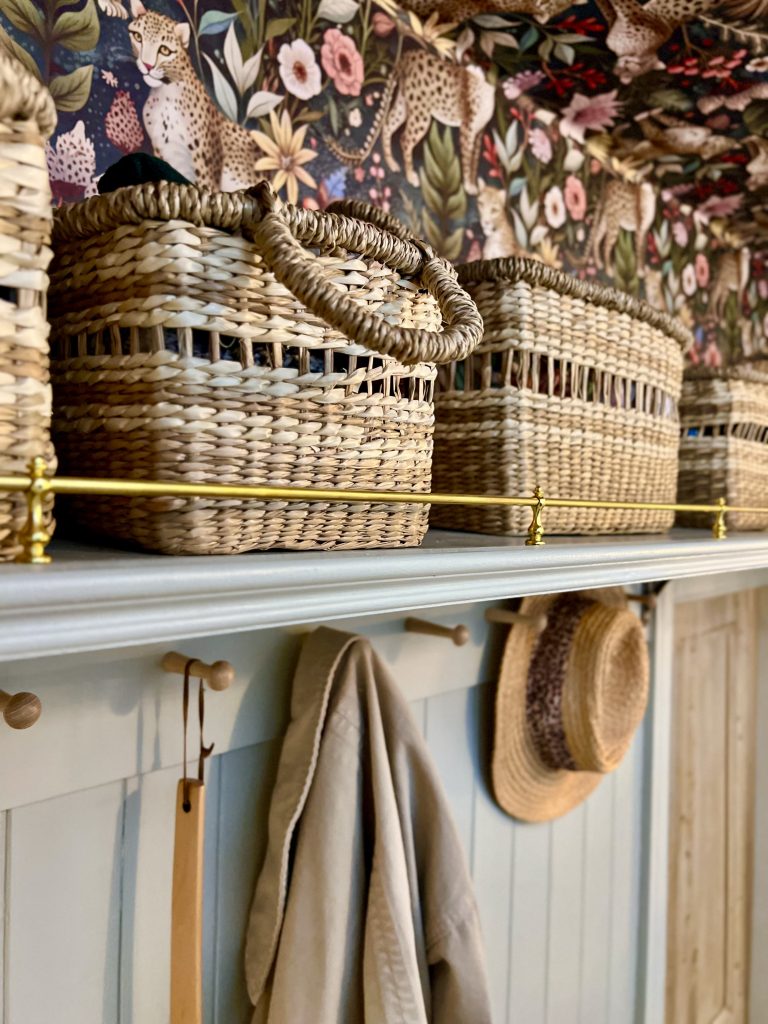
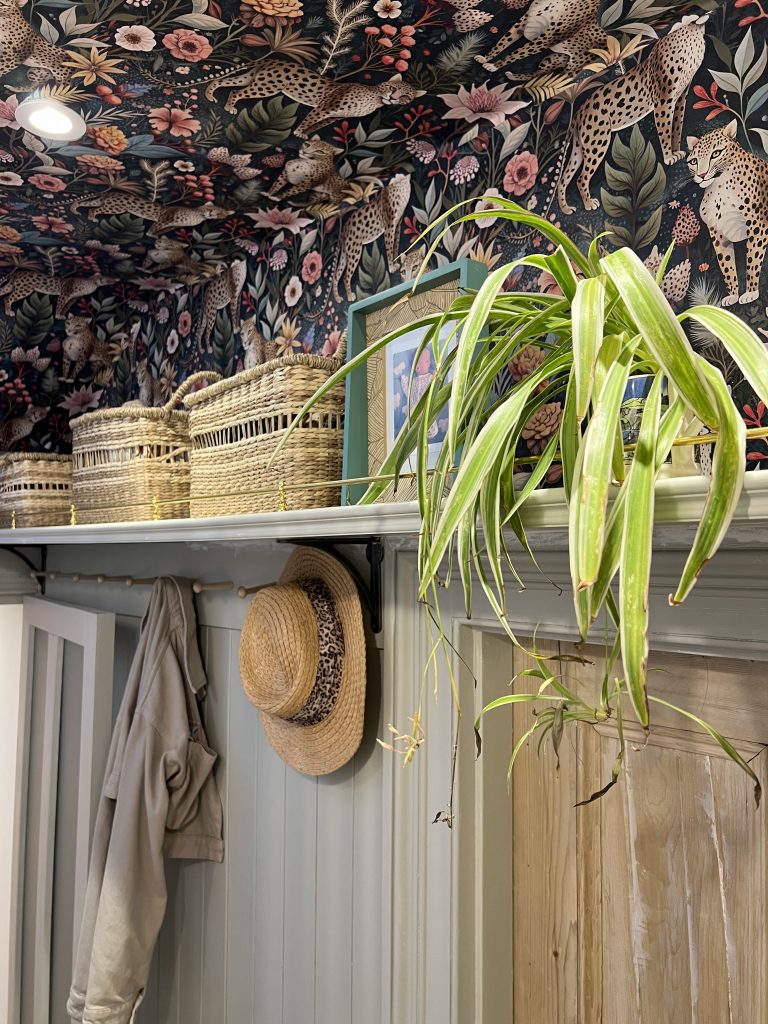
It looks like it’s always been there, and has turned what was basically dead space into one of the hardest working storage areas in the house.
And, most importantly…
It doesn’t look like you’ve shoved a load of plastic storage boxes above your doors. Here’s a little reminder of the before, compared to the final look:
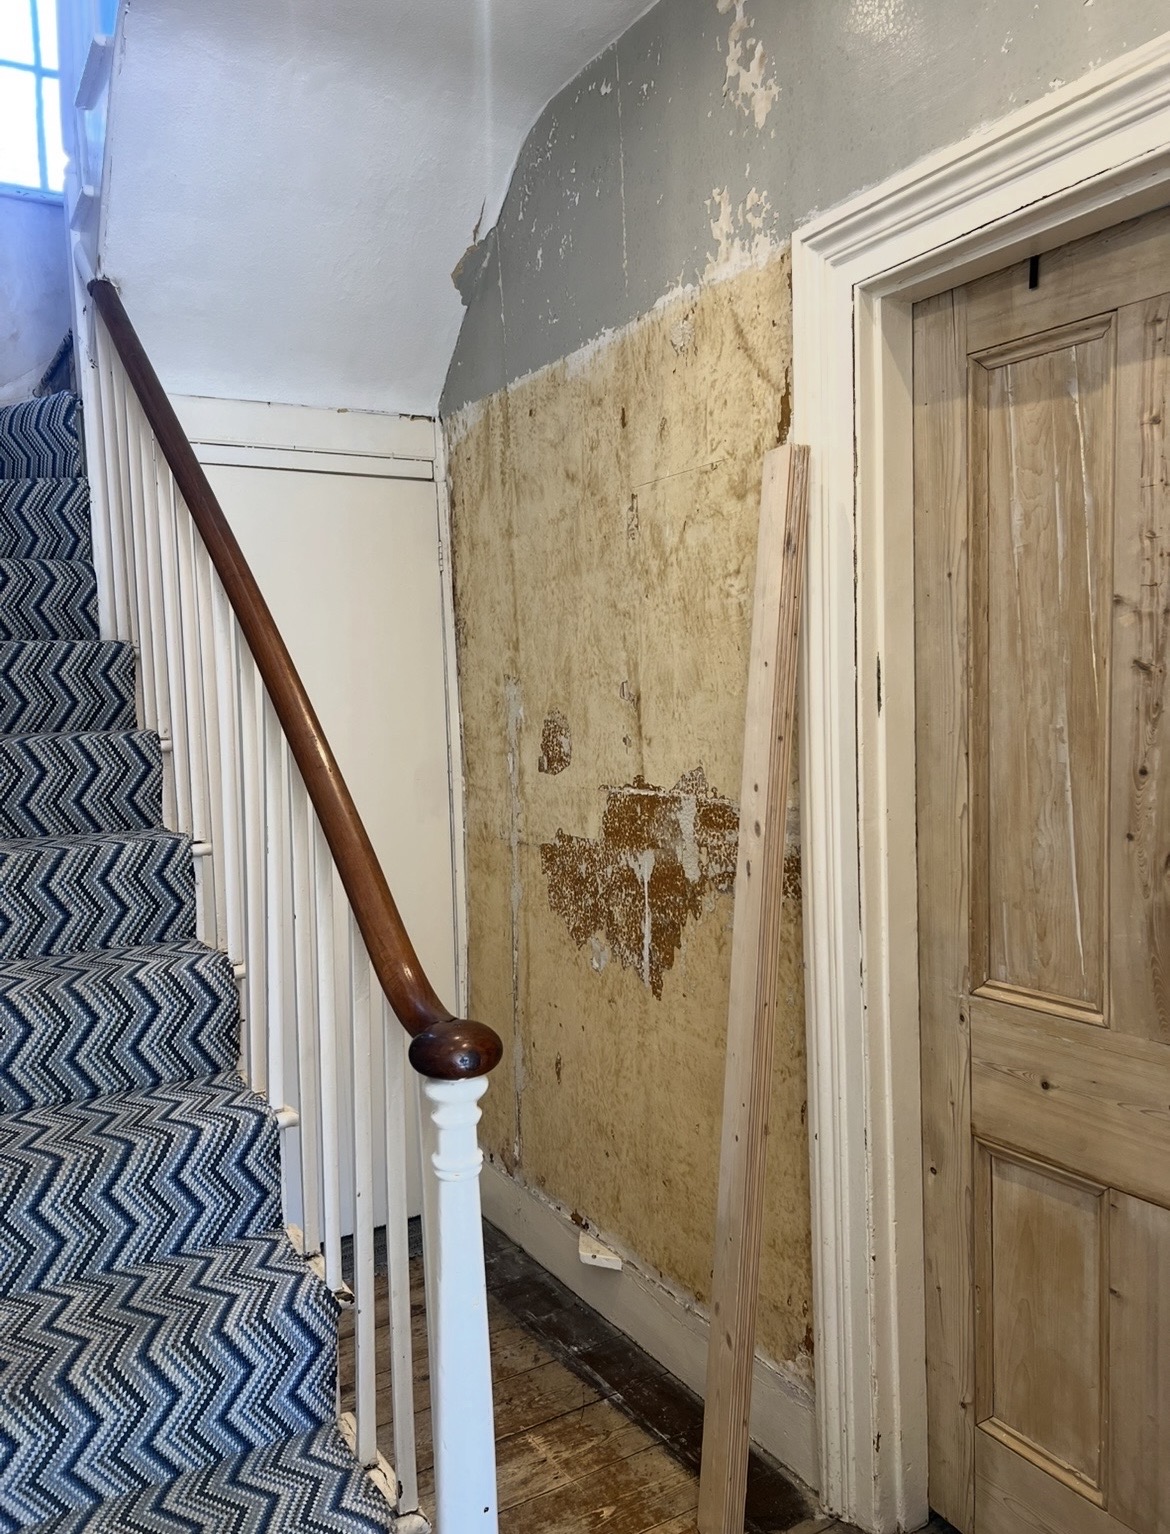
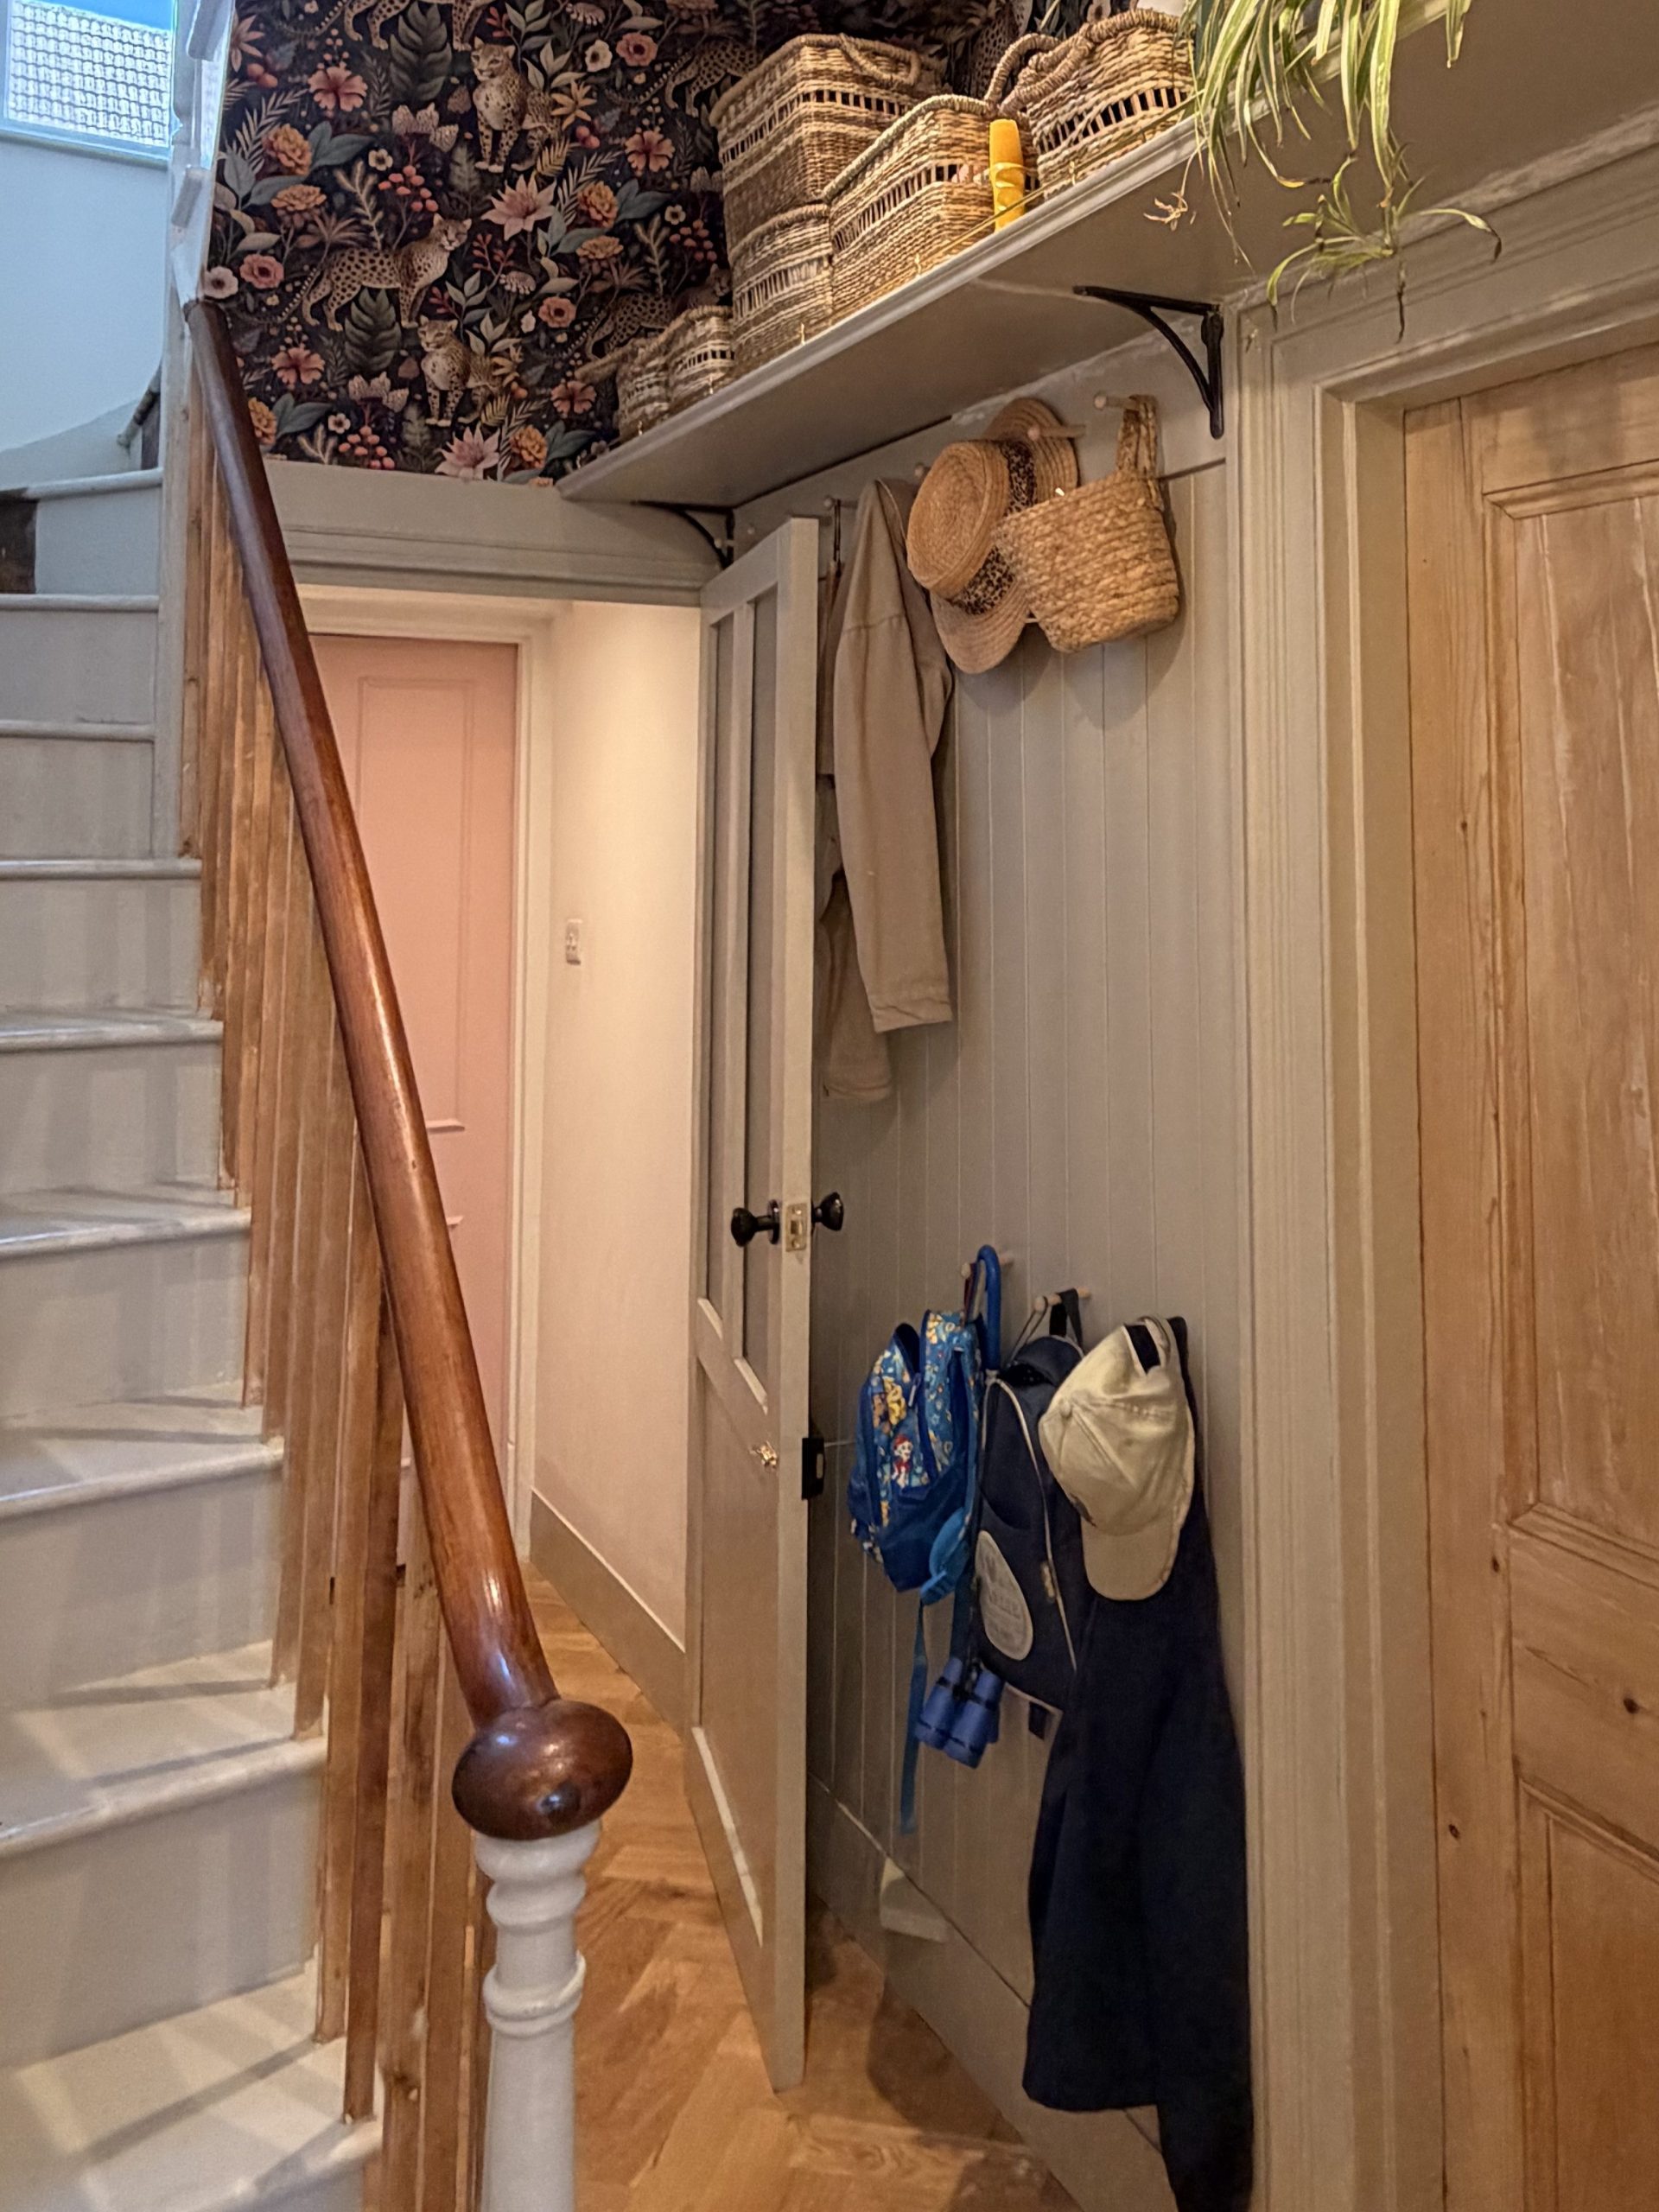
And if you like the wallpaper, that’s an amazon find as well: and it’s stick on! So easily removed if you change your mind.
Save yourself £150
If you’re making a long gallery rail, hopefully this saves you from the same year long internet rabbit hole I disappeared down.
If you build one, I’d genuinely love to see it – tag me on Instagram @saxon_stories so I can admire your handiwork (and silently wish I’d thought of your improvements first!), or view the post about the gallery rail here: